
Solar panels are extremely durable and can withstand most things that are thrown at them.
While the title of this article is “common issues,” it is still rare for a solar panel to experience any. This is especially true if you have chosen high-quality equipment and have had your solar PV system professionally installed.
However, issues can and do occur. In most cases, these can be easily solved by yourself or by giving your solar developer a quick call.
In this article, we’ve outlined all the common reasons why solar panels fail or drop in efficiency, along with a guide for troubleshooting them. If you suspect your panels have an issue, read on to help determine what it might be.
In a Nutshell
- You will know there is a fault with your solar panels if your electricity bills rise sharply or if you see that the grid is supplying most of your energy.
- A faulty inverter is one of the most common reasons why solar systems fail.
- Carrying out regular inspections and cleaning can help prevent damage.
- Fixing solar panels yourself will generally void your warranty.
- We always recommend getting a qualified professional to repair or replace solar panels and solar panel equipment.
How Do You Know If Your Solar Panels Have an Issue?

You will know if your solar panels have a problem when they stop producing electricity. This can grind to a complete halt where your solar panels stop working altogether, or they may drop dramatically in efficiency.
If you have an off-grid solar PV system, then you will generally know immediately if your panels aren’t working properly. If you can’t turn the lights on or operate any appliances, then it’s a surefire sign that you might want to inspect your solar arrays.
For grid-tied systems, it can be harder to spot right away. This is because the grid will step in and supply you with electricity when there isn’t enough coming from the solar PV system.
The lights will still turn on, but it won’t be from solar-generated power.
Therefore, if your solar system is on-grid, you need to pay special attention to your energy bills and electricity meter.
Here’s how to tell if there is an issue:
- Review each energy bill you receive. A sharp price increase indicates your solar panels are not working as they should.
- Inspect your electricity meter during the day to see whether it’s your solar panels or the grid that is supplying your energy.
- At the same time, inspect your generation meter. If a red light is displayed during daylight hours, this indicates a problem.
- Consider using a solar monitoring system. This provides real-time data on the performance of your solar arrays and will alert you if there is an issue.
We need to make you aware right now – as this is very important – that unless you are a qualified electrician or certified solar professional, any attempts to fix solar panels and their electrical components yourself will void your warranty.
Besides that, self-fixing solar panels can be dangerous, so don’t put yourself in a vulnerable position.
If in doubt, call your solar developer and they will be able to advise you on the best course of action.
Troubleshooting Common Problems
Broken Inverter
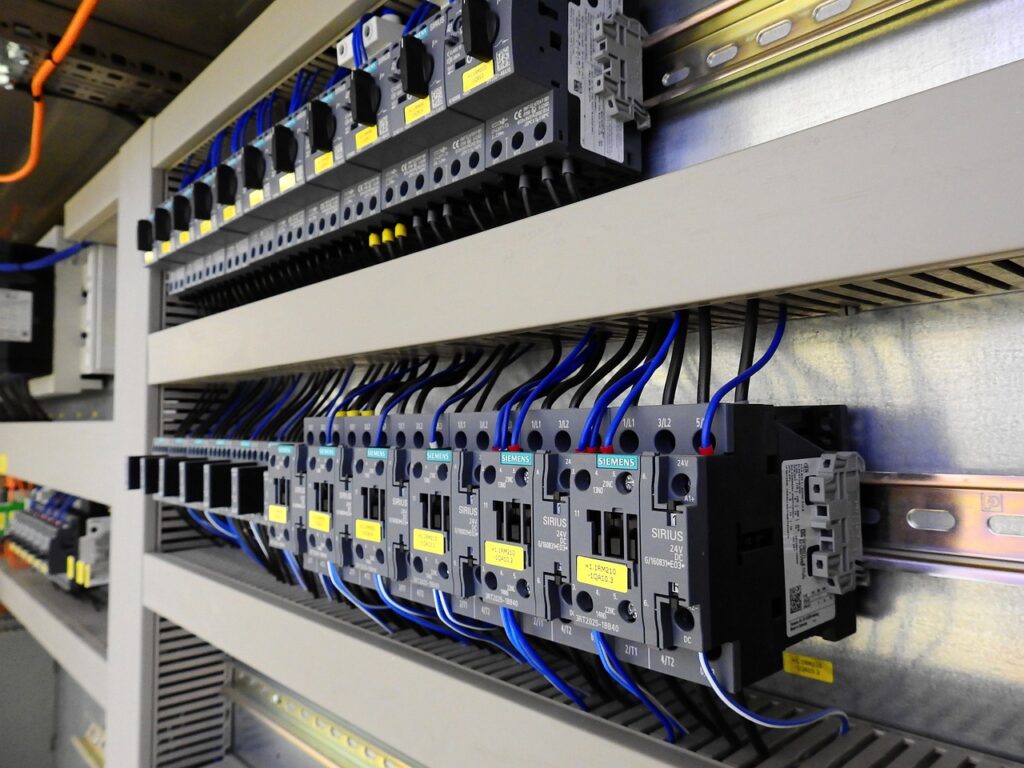
The inverter is a key component in a solar PV system. In a typical setup, the wiring will run from the solar panel to the inverter, which converts the electricity from DC power into usable AC power. The AC power then flows via wiring into the electrical panel for use.
Inverters are not as durable as solar panels. Therefore, it is expected that they will need to be repaired or replaced at some point during your solar PV system’s lifecycle.
Faulty inverters are also one of the primary causes of a solar PV system malfunction, so if you see there’s an issue, head straight to your inverter to check it.
How to troubleshoot a faulty inverter:
- If your inverter has an LCD display, check it for error codes. If one is displayed, consult the user manual, as this will direct you on what they mean and what you can do about it.
- Try resetting the inverter. Turn it off, wait a few minutes, then switch it back on. This is a common solution for inverter issues following a grid fault or power surge.
- Inspect the inverter. You’re looking for signs of overheating, physical damage, or strange noises.
- Check that the circuit breakers are all set to the “on” position.
- Check that the fuses have not blown. If one has, you can replace it.
- Make sure that the power supply for the inverter is working properly and supplying adequate levels of power.
- If you have a solar storage battery, check that this is working properly. Faulty batteries can have an impact on the inverter’s performance.
- If the above steps don’t resolve the issue, or if your inverter is overheating or damaged, call your solar developer for advice.
Faulty Wiring
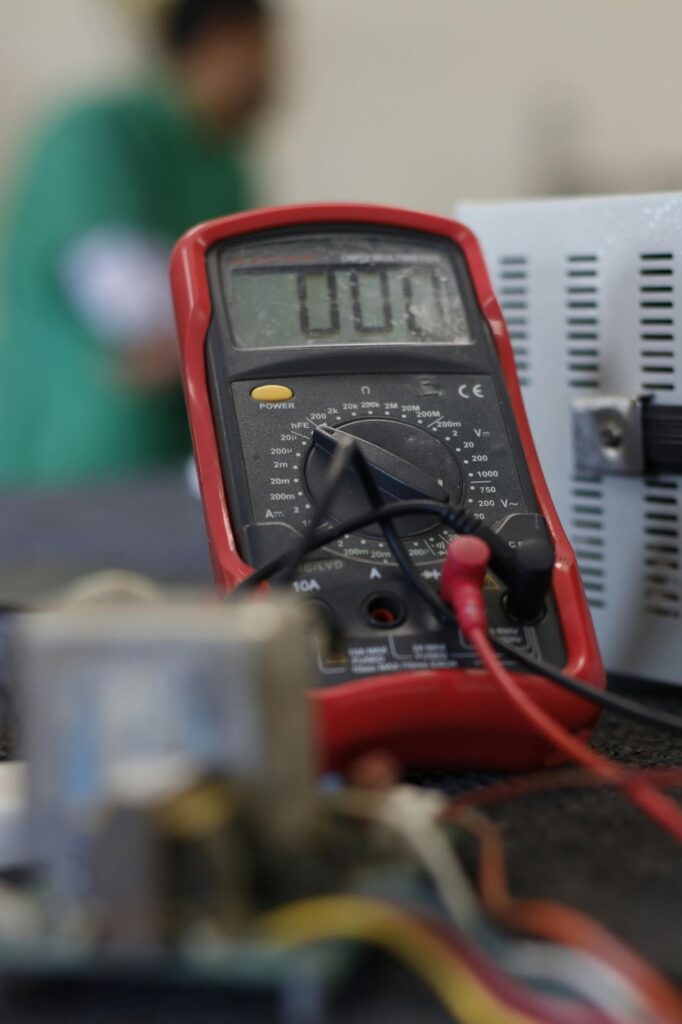
Solar PV systems have three points of vulnerability:
- The solar panel connection
- The inverter connection
- The electrical panel/meter connection
Faulty wiring can occur at any of these three points, and the most common cause is a loose connection on the inverter or the solar panels. Loose connections can occur if the terminal or wiring suffers from damage or corrosion. Or it may simply be that the connection was faulty to begin with.
Faulty wiring can cause your panels to work less efficiently. More dangerously, it can also create power surges or shorts, which increases the risk of fire.
How to troubleshoot faulty wiring:
- Regularly inspect all wiring connections to see if any are broken, loose, or dirty.
- Clean any visible dirt you find present on the wiring.
- If you know your way around a multimeter, you can measure the voltage at the combiner box, fuses, load switches, and breakers to see if the proper voltage level is present.
- Use a multimeter to also test open circuit voltage to see if there are issues with the wiring and connections.
- Inspect the inverter for error messages, wiring problems, and input and output voltages.
- Broken wiring should be replaced and loose wiring secured by a qualified electrician.
- Drops in voltage should also be inspected by a qualified electrician.
Damaged Junction Box

If you suspect the fault lies with the junction box, take extra care in troubleshooting this area.
The junction boxes house the electrical cable connections, so there is a high safety risk if not handled properly.
How to troubleshoot a solar panel junction box:
- Perform a visual inspection of the junction box to see if there are any exposed wires, cracks, or scorch marks. If you find any of these, do not touch them. Turn your solar system off, disconnect it, and call a professional.
- If there is no visible damage, you can use a multimeter to test the voltage. Compare the readings with your system’s specifications to see if there are any differences.
- To inspect the interior of a junction box, switch off the power supply and disconnect it entirely. Wear protective gloves before touching the box. If you see any damage, call a professional.
Overheating

Solar panels have a high tolerance to heat – after all, they are out in the sun all day. However, certain circumstances may cause them to get abnormally hot and overheat.
Much of this has to do with shoddy installation practices, such as not ensuring there is enough ventilation space around the panels or surrounding surfaces that reflect additional heat onto the panels.
When solar panels overheat, they drastically reduce efficiency. If they get too hot, they may also suffer from permanent damage.
How to troubleshoot overheating solar panels:
- If you have yet to have a PV system installed, pick a qualified developer to ensure measures are taken to prevent overheating.
- Inspect your solar panels for damage. A cracked solar panel is more likely to overheat than an undamaged one.
- Inspect around and under the panels to see if anything is preventing sufficient ventilation.
- Check the inverter for any issues, including its input and output voltage levels.
- Check the combiner box and ensure all the wiring is secure and the fuses are not blown. You can replace any blown fuses.
- If there are reflective surfaces nearby sending additional heat to the panels, remove them if possible. If this isn’t practical, consider applying a reflective coating to reduce the effect or placing something over the surface to block it.
Hotspots

Solar panel hotspots are localized areas that suffer from a higher temperature than the rest of the panel. They are typically caused by a heightened resistance stemming from the connections that lie between the silicone cells.
This causes the energy to dissipate as heat rather than being transformed into electricity.
Hotspots can decrease the efficiency of the solar panel or even damage it irreparably by degrading the cells or causing the glass to crack.
They are generally the result of dirt buildup, shading, or sub-standard manufacturing.
How to troubleshoot solar panel hotspots:
- When having solar panels installed, choose ones with excellent thermal attributes.
- Visually inspect your solar panels. If there is dirt buildup, give them a clean.
- Ensure the panels are receiving adequate ventilation. Remove anything that is preventing this.
- If shading is a problem, remove the cause, such as cutting trees back.
- If none of the above is effective, contact a solar professional. They can utilize thermography technology to pinpoint the hotspots and identify the cause.
Dirt Buildup

If you don’t regularly clean your solar panels, dirt buildup can start to present a serious problem. When the surface of your panels becomes too dirty, they cannot harvest the sun’s energy efficiently and will cause a drop in the amount of electricity they produce.
Dust and debris are common causes of dirt buildup, but you have to be mindful of bird droppings and pollen too.
Dirt can also accumulate on the underside of the panels and start affecting the electrical components.
How to troubleshoot dirt buildup:
- Regularly inspect your solar panels, particularly following extreme weather events, high pollen seasons, and when birds are active.
- Don’t forget to check the underside of your panels during your inspection.
- When dirt buildup becomes obvious, clean your solar panels with plain water and a soft brush.
- Spot clean where needed.
- Do not use harsh detergents – they are not necessary and can damage the surface of your solar panels.
Nesting Birds

Believe it or not, your solar panel racking can make an attractive place for a bird to call home. While it sounds cute, having birds living on your solar panels is not a good thing.
Nesting materials and bird droppings can quickly mount up and start causing damage, as can large numbers of birds marching over your solar array. Bird poop is especially bad as it is acidic and, therefore, corrosive, which can cause damage to your electrical components.
How to troubleshoot nesting birds:
- For persistent nesting problems, installing bird netting, mesh, or spikes onto the undersides of the panels and racking will act as an effective deterrent.
- Keep a watchful eye out for bird droppings and don’t let them accumulate. Clean them from the panels’ surface and underside, including the racking.
Weather damage
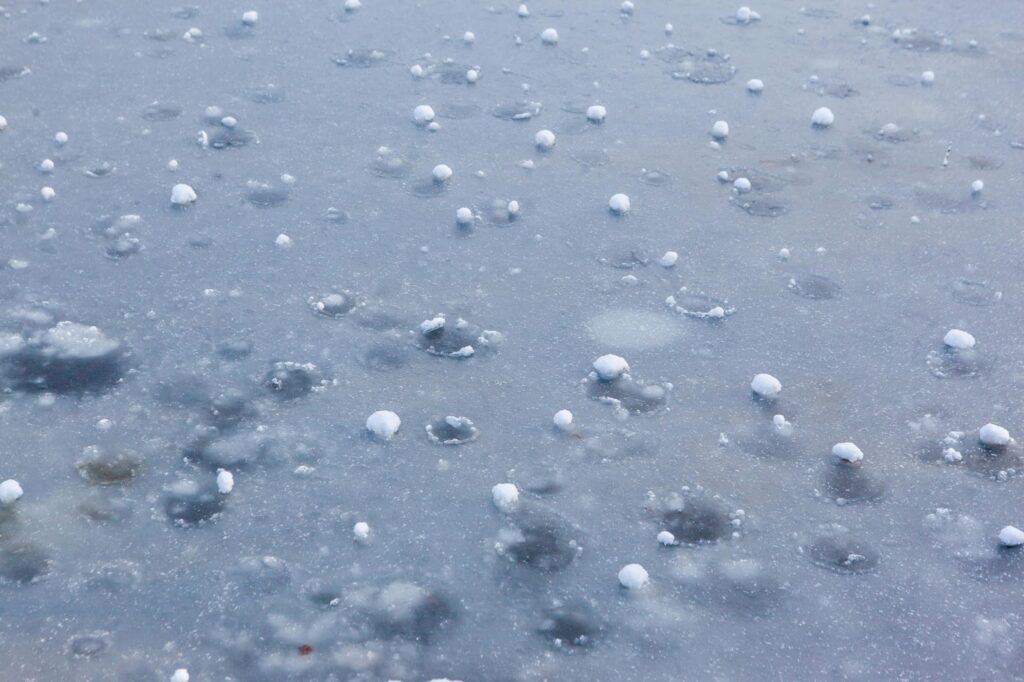
We can’t prevent extreme weather, but there is plenty we can do to protect solar panels from getting damaged.
The good news is that solar panels are extremely resilient against bad weather. High winds, snow, and hail on their own are unlikely to damage the panels. What causes the most problems are physical objects, such as tree branches being swept up and slammed onto the panel’s surface.
How to troubleshoot solar panel weather damage:
- If bad weather is anticipated, perform preventative measures, such as trimming back loose tree branches and securing or removing any nearby loose objects.
- After the storm has passed, inspect your solar panels for signs of damage, such as cracks, dents, scratches, or loose wiring.
- If no physical damage is present, keep a close eye on the performance of your system to see if there is a noticeable drop.
- If the system is visibly damaged or has dropped in performance, contact your solar developer for guidance.
“Snail trails”

This is an interesting one. We don’t mean snail trails in the literal sense. Rather, these are brown or black lines of discoloration that appear on the solar panel’s surface, usually after they have been in use for a good while.
Snail trails are the result of a chemical reaction that causes oxidization. The silver paste used in the solar panel is defective and creates moisture contamination – usually from the presence of micro-cracks.
This results in the encapsulation material and silver paste becoming oxidized and creating brown lines. This issue can also create more micro-cracks, letting in more moisture and oxygen, which then exacerbates the problem.
The result is a solar panel with a dramatically reduced efficiency.
How to troubleshoot snail trails:
- Since this problem starts with bad manufacturing practices, make sure you choose high-quality solar panels from a reliable brand from the offset.
- If you see snail trails forming, call your solar developer to have the solar panel replaced.
Delamination
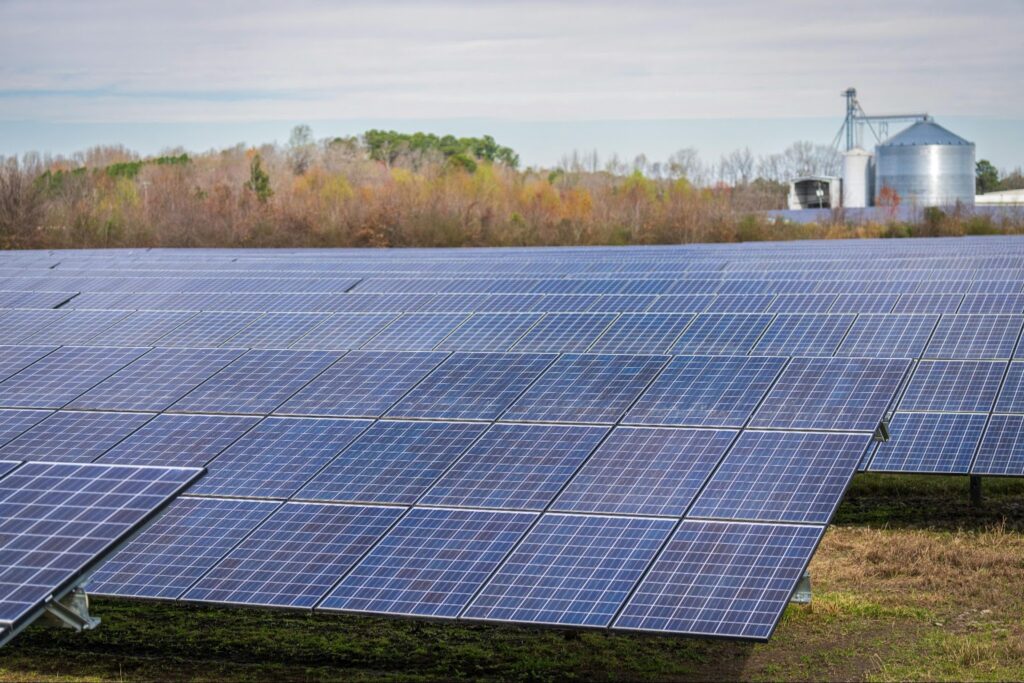
Delamination is a problem that occurs when the substance that seals the different layers of the panel becomes detached from the surface glass or the back sheet. Called “encapsulant,” it can suffer delamination for several reasons.
Low-quality materials and manufacturing processes are the main culprits, but high temperatures can also create delamination.
A delaminated panel is more likely to suffer from corrosion on its metal conductors and will ultimately fail.
How to troubleshoot delamination:
- Choose high-quality solar panels from a good brand (like Trina Solar).
- When inspecting your solar panels, check for bubbles or creases on their surface and rear.
- Dark spots can also indicate delamination, as this is usually a sign of corrosion.
- If delamination occurs, call your solar developer to have the solar panel replaced.
Micro-cracks
Micro-cracks occur in the solar cells and are often invisible to the human eye. They tend to form during the manufacturing process or when being handled incorrectly. Insufficient packaging and transportation methods cause impacts, which then create micro-cracks.
Thermal cycling (when the solar panel goes from very hot to very cold or vice versa) can also cause micro-cracks to form.
The presence of micro-cracks can lead to electrical separation and inactive cell parts, which will reduce the efficiency of your solar panel.
How to troubleshoot micro-cracks:
- Pick a solar panel manufacturer with appropriate handling and transportation methods.
- Additionally, manufacturers that employ electroluminescence (EL) testing will ensure their panels are free from micro-cracks.
- If you suspect micro-cracks cause a drop in your PV system’s efficiency, call your solar developer and arrange an inspection.
Micro-scratches
While micro-cracks develop within the solar panel, micro-scratches appear on the panel’s surface.
Over time, debris and dirt falling on and being blown across the solar panel can create tiny, almost imperceptible scratches. A few of these scratches won’t do any harm, but a continuous buildup of them will inhibit the panel’s ability to harvest sunlight.
How to troubleshoot micro-scratches:
- Inspect your panels regularly for dirt buildup.
- Clean your panels, especially when the dirt is visibly present.
- If micro-scratches are causing your panel to be inefficient, you may have to have it replaced.
- In some instances, repair may be possible, but this is often just as expensive as replacing the entire panel.
Get in Touch for More: 8760 Solar
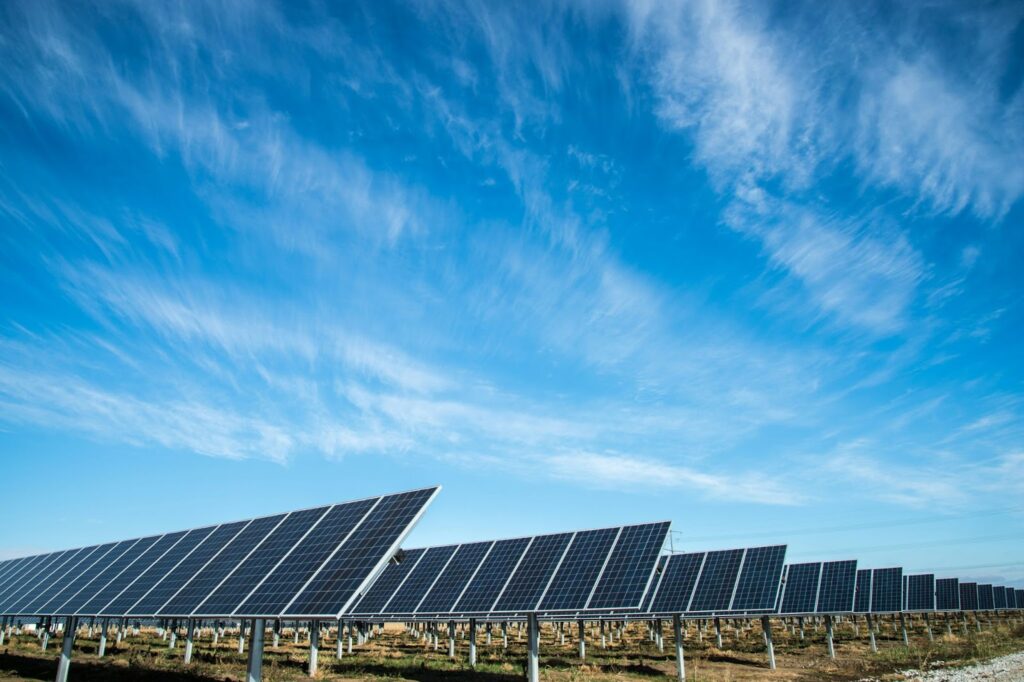
A properly sized and expertly installed solar PV system is one of the best ways to ensure your equipment doesn’t get damaged, and so is using high-quality equipment from reputable solar brands.
At 8760 Solar, we source our solar panels and equipment from top brands like Trina Solar. They are renowned in the industry for manufacturing high-performing and exceptionally durable solar panels.
Our expertise lies in providing solar solutions for farms and agricultural businesses. The very first step is performing a thorough analysis of your land to determine the best setup and placement for your needs. This helps eliminate certain issues, like shading.
We’ll also teach you how to properly care for and maintain your solar system so that, if an issue occurs, you know what to do and how to do it safely.
If you want to talk more about the benefits of solar, we’d love to hear from you. Text “READY” to 719 470-0254 or contact us via email: sales@8760solar.com
Frequently Asked Questions
How Do You Diagnose a Solar Panel Problem?
Check the solar panels, wiring, and inverter for obvious damage like cracks or loose wires. Clean your system if it is dirty. Try resetting the inverter. If problems persist, check the voltage, the input, and the output. Contact a solar professional for any repair work.
Why Is My Solar Panel Not Putting Out Power?
If your solar panel is experiencing zero output, it is likely down to a faulty inverter or charge controller. Check these for error messages or damage and have them replaced if necessary. If the solar panel is still inoperational, call your solar developer for advice.
How Do You Test a Solar Panel to See If It’s Bad?
You can test a solar panel to see if it’s bad by using a multimeter to measure the voltage, current, and resistance. Make sure you perform these tests during the day when there is full sunlight; otherwise, you won’t get an accurate reading from your panels.
How Do You Check If a Solar Panel Is Working or Not?
The easiest way to check whether a solar panel is working is to analyze your electricity bills. If they have increased in price, it’s likely something is up with your solar PV system.
Perform an inspection of your system, including the inverter and electrical components to find the cause. Call your solar developer for advice on how to get your solar system fully operational again.
Can a Solar Panel Have Voltage but No Current?
A solar panel can’t have voltage but no current if the electrical circuit is complete. If you find there is voltage and no current, it means there is an open circuit, broken equipment, or faulty or incomplete wiring present.
