
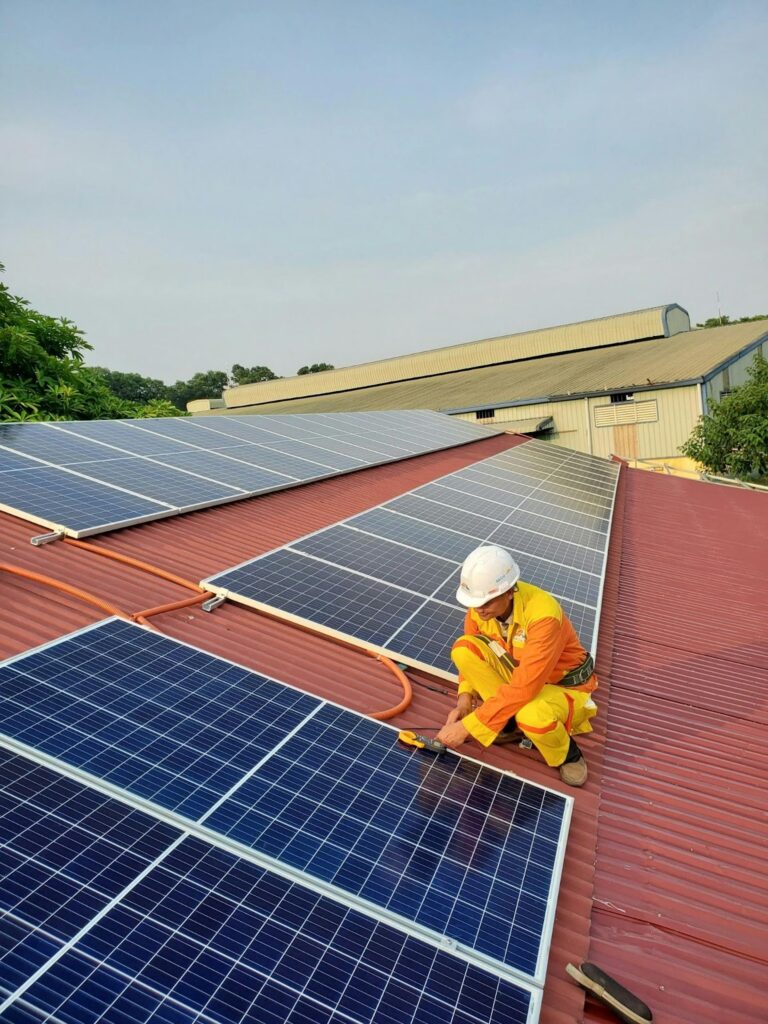
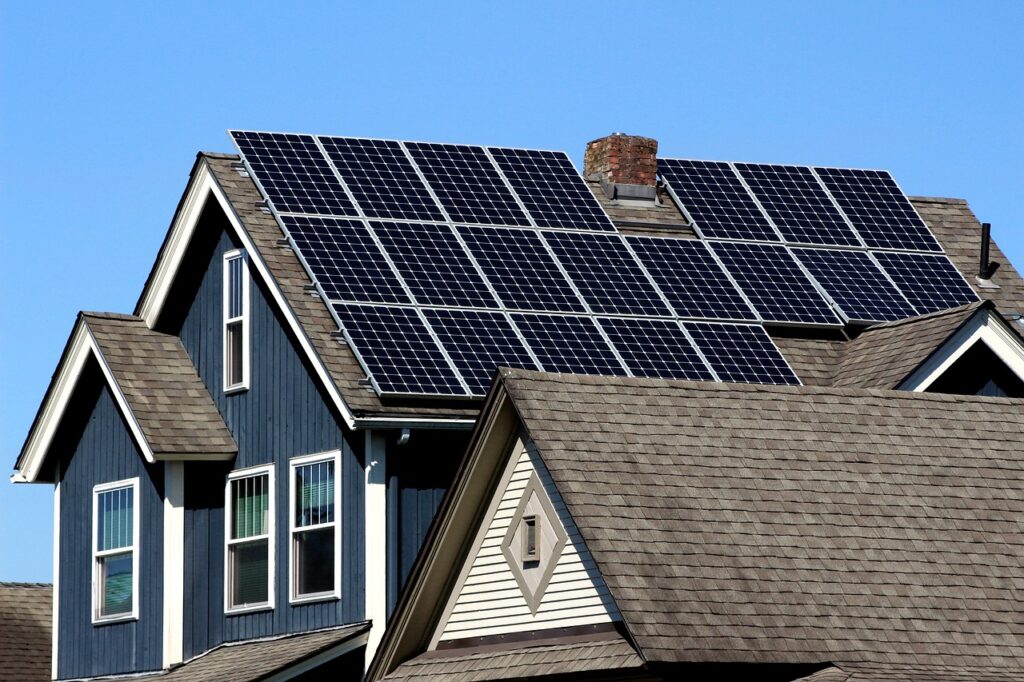
Rooftop solar is the perfect solution for farms that utilize a lot of buildings. As long as the roof is structurally sound, most can be used to accommodate solar panels.
This removes the need to install the panels at ground level, frees up space, and looks aesthetically pleasing.
However, a lot goes into making rooftop work. Everything from the type of roof down to the clamps used to fix the panels must be considered.
If you’ve been wondering about the possibility of adding solar to your barn, shed, or other farm-building roof, here’s everything you need to know.
In a Nutshell
- Roof condition, orientation, pitch, material, and shading are all important factors to consider before installing solar panels.
- There must be enough surface area on the roof to accommodate the number of required solar panels.
- The components of a mounting system include roof mounts, rails, and clamps.
- Solar panels can be fixed into place using railed mounts, shared rail mounts, rail-less mounts, or ballasts.
- Metal or shingle roofs are the best roof types for solar panels.
Solar Roof Mounts: The Pros and Cons
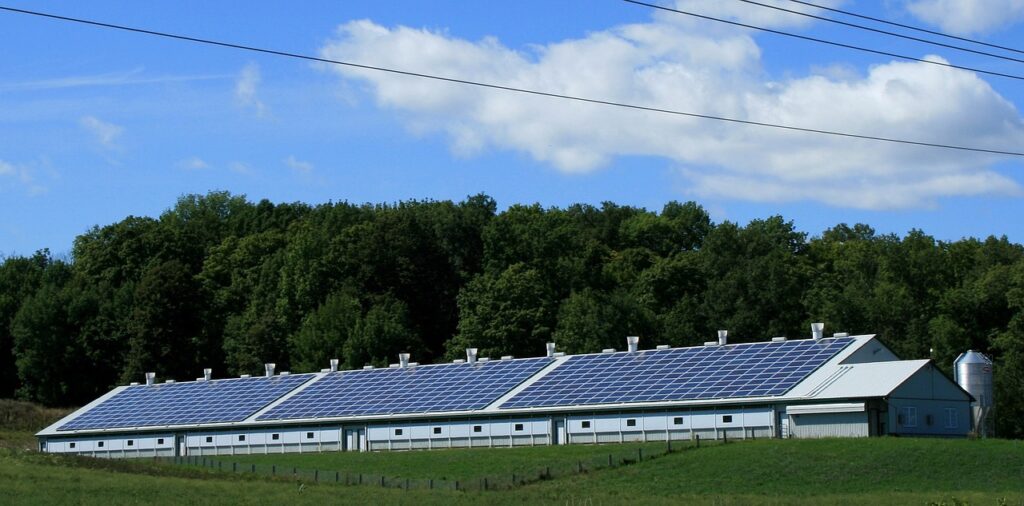
Farms are in a unique position when it comes to roofs. With many outbuildings, barns, production units, garages, and more available, you can be spoiled for choice on where to have the panels installed.
There’s no one-size-fits-all approach to adding solar to a roof, and each approach presents unique challenges that must be addressed.
Having rooftop solar provides certain benefits that may not necessarily be available with a ground-mounted array. For example, rooftop solar:
- Can be placed closer to the electricity meter, lessening the need for extra cabling
- Removes the problem of sacrificing farmland for solar panels
- Looks more attractive, which is important if you dabble in agritourism
- Tends to cost less to install than ground-mounted panels
On the flip side, rooftop solar also presents some potential drawbacks:
- It’s harder to optimize rooftop solar compared with ground-mounted solar as you’re restricted to whatever direction the roof is facing
- A roof is limited in size, which can, in turn, limit the expansion of your PV system
- Ground-mounted solar can be used for agrivoltaics, whereas rooftop solar cannot
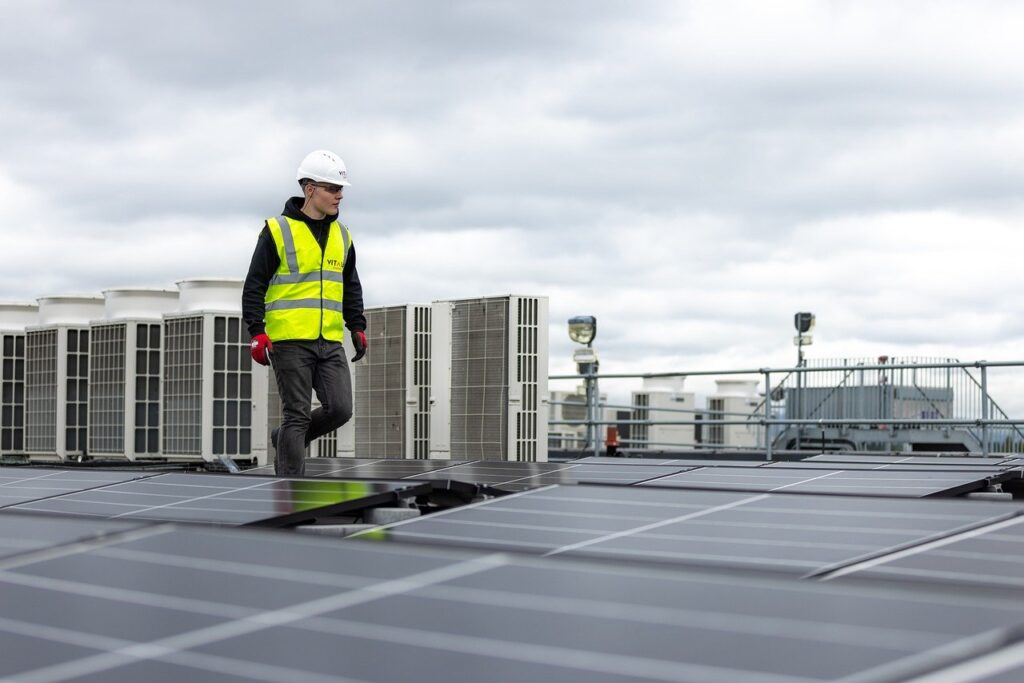
- Rooftop panels are harder to access and maintain than ground-mounted ones
Important Considerations for Roof-Mounted Solar Panels
You can’t just slap solar panels on any old roof! The end result needs to be safe and secure, so an old, dilapidated roof won’t fit the bill.
Farms have many different types of buildings, but they can often be old or may have fallen into disrepair, which can affect the roof’s integrity. Therefore, it’s essential to make sure that the roof fulfills the following conditions before you can install solar on it.
Roof Orientation and Pitch
The orientation of the roof matters if you want to get the most out of your solar panels:
- South-facing roofs are the optimum orientation and will deliver the best results
- West or east-facing panels are a good runner-up but will be around 15% less efficient than south-facing panels
- North-facing is the least desirable position and can result in up to 30% drop in efficiency, so try to avoid this if you can
In terms of the pitch of your roof, this is less important than orientation, but it can still make a difference.
A roof with a 30-45-degree pitch will give you the highest efficiency.
As you probably know, many farm and commercial buildings have a very shallow pitch, so you will be reassured to understand that a 7-degree tilt can still work perfectly well.
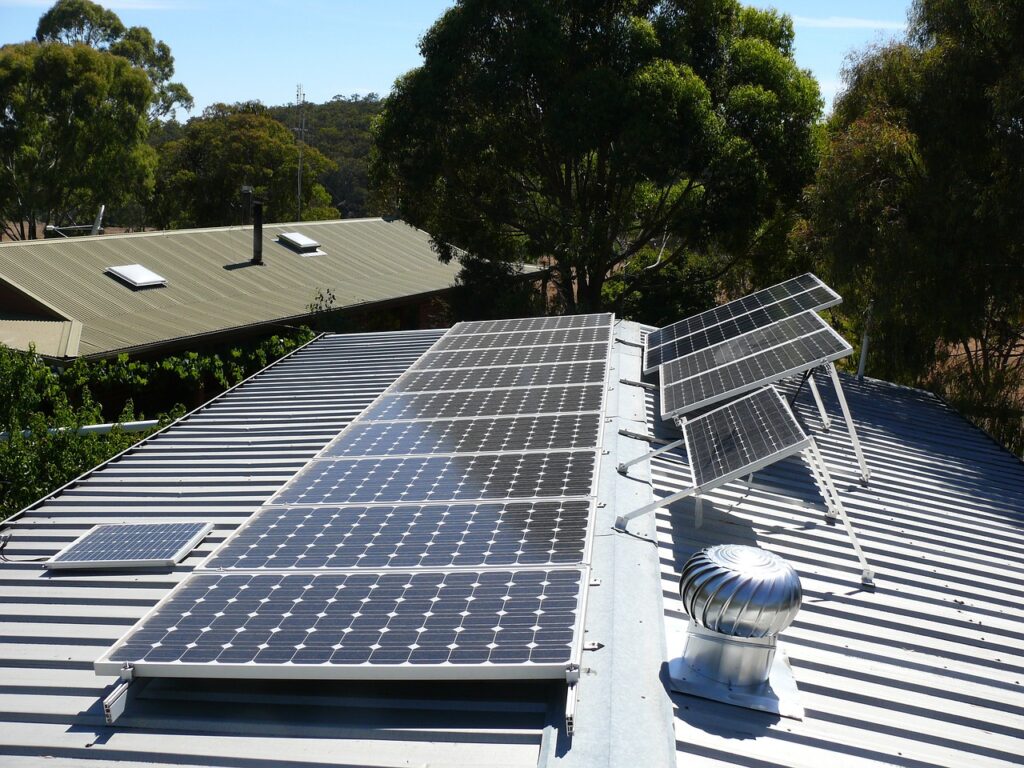
If it is found that the pitch of the roof and orientation won’t yield optimum results, then it is possible to install solar panels where the tilt can be manually adjusted for a higher efficiency.
The Condition and Age of the Roof
This one is a biggie. The roof must be in great condition and be sturdy enough to accommodate the weight of a solar PV system.
While there are no hard and fast rules that determine the suitability of the roof, the general rule of thumb is that the building (and roof) must be less than 40 years old.
Additionally, everything must be structurally sound. That means there must be no:
- Crumbling or falling mortar
- Waterproofing issues or water damage
- Excessive mold or moss
- Rust or metal degradation
- Rotting trusses, purlins, or trusses
- Loose, missing, or broken tiles or shingles
If you are uncertain about the condition of your roof, get it inspected by a structural engineer. If any defects or issues are uncovered, then you must address them before you even think about installing solar panels.
The weight of your solar PV system is determined by its size and the type of mount you use for it. It’s not light, though, and you should factor in 2 – 6 pounds of weight per square foot.
As a point of reference, a 25 kWh system weighs around two tonnes.
Also, consider when your roof might need replacing. As we referenced earlier, solar panels have a long lifespan, so you don’t want to get them installed only to take them down a few years later because you have to replace the roof.
Ideally, you want your roof to last as long as your solar panels do.
Roof Material
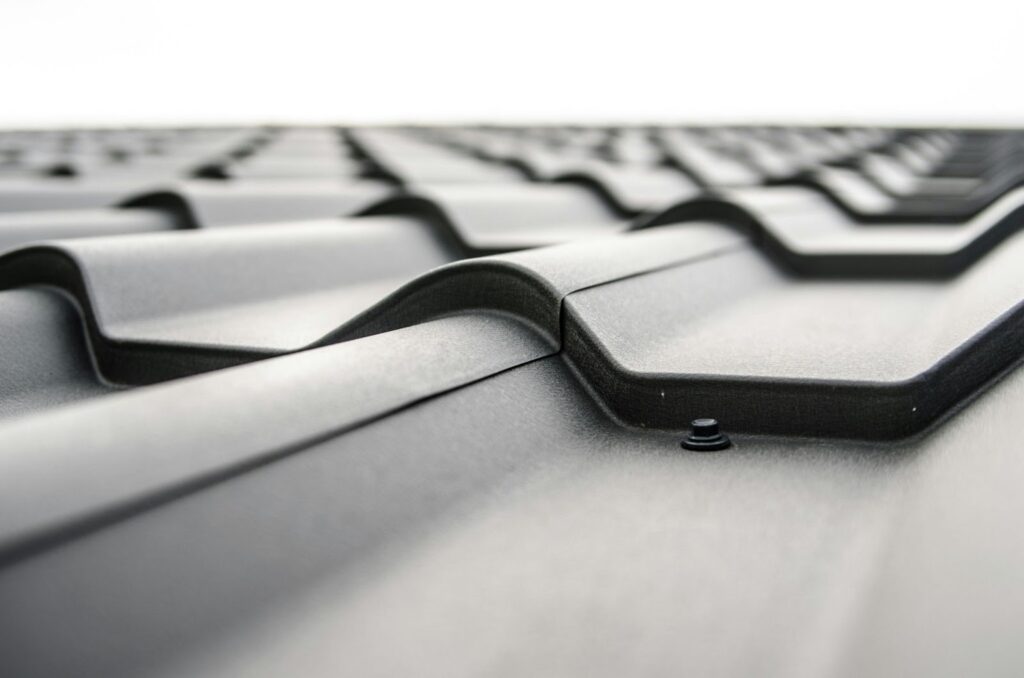
Metal or composite shingles are the best roof surface for attaching solar panels. If we had to pick one, it would be metal because the raised parts of a metal roof make it extremely easy to attach solar panels using clamps and remove the need to penetrate the roof in any way.
An added bonus is that a metal roof can easily match or outlast the lifespan of the panels.
For comparison, a metal roof can easily last up to 70 years, while a shingle roof must be replaced within 15 – 20 years. Note that solar panels last beyond 25 years, so if you have shingles, they could need replacing before your solar panels are done!
That said, composite shingles make a great runner-up because their smooth surface gives you more choice in the type of mounts you use to affix the solar panels.
Roof types that are definitely not suitable for solar panels are glass and thatch. Glass is too fragile, and a thatched roof presents a serious fire risk.
We would also advise you to be extremely careful about installing solar panels on roofs that contain asbestos. While it’s not banned in the USA, asbestos does pose a serious health risk if it is disturbed.
If your roof does contain asbestos, you must let your solar developer know so the necessary safety precautions can be taken.
Available Space
The surface area of your roof needs to be able to accommodate the size of the solar PV system that you require.
This sounds simple in theory since most roof spaces are large. However, roofs are not 100% flat and many contain obstacles such as chimneys, ventilation points, skylights, etc., that cannot be covered with solar panels.
For farms, this presents less of a problem since they generally contain multiple buildings with a lot of clear, available roof space.
Solar panels come in two standard sizes:
- The 60-cell panel measures 3.25 feet by 5.5 feet
- The 72-cell panel measures 3.25 feet by 6.42 feet
Now let’s look at the average number of solar panels required for differently sized systems:
| PV system size | Number of required panels |
| 6 kWh | 19 |
| 10 kWh | 32 |
| 12 kWh | 38 |
| 14 kWh | 44 |
| 25 kWh | 79 |
As you can see, the amount of space you need adds up very quickly!
International Fire Code (IFC) Requirements
The IFC has specific requirements for solar roof panels, which ensure that safety is maintained and the risk of fire is minimized.
Currently, the IFC mandates the following:
- There must be a setback consisting of a 36-inch pathway between the top of the roof’s ridge and the edge of the solar panels. This must span the entire length of the roof.
- Arrays covering 33% or more of the roof’s surface must have a 36-inch setback on both sides of the solar array to create a clear path on each end.
Shading
Finally, your roof might be in the right orientation, structurally sound, and large enough to accommodate your energy needs, but none of that is any good if it spends most of the day obscured by shade.
Ideally, you want a roof that is 100% shade-free. If there is a minimal amount, particularly in the morning or evening, then this can work too.
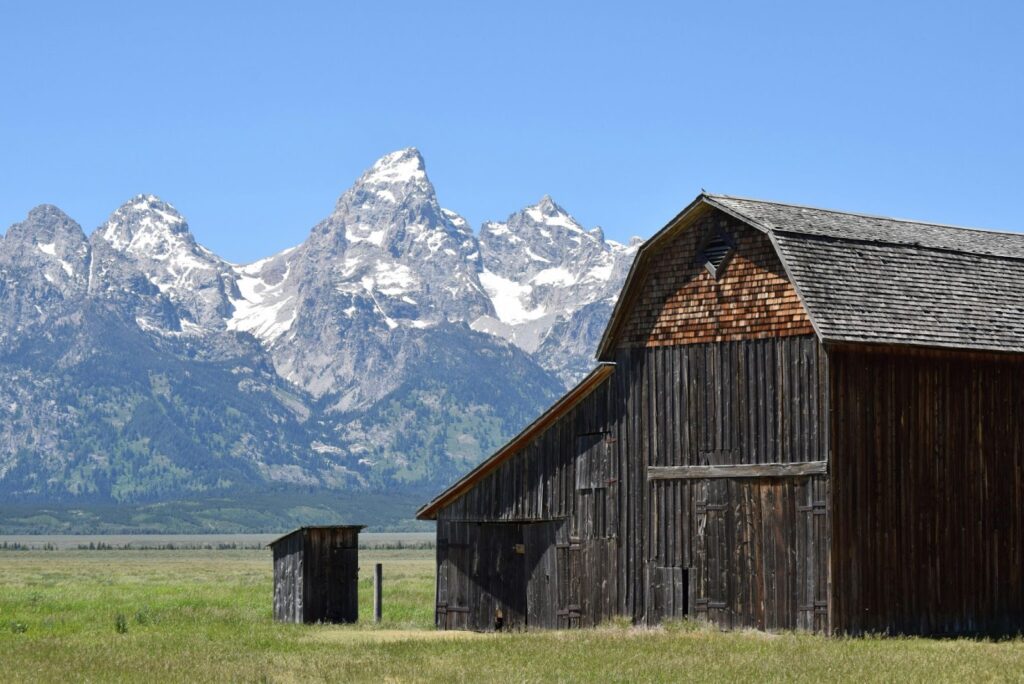
If there is shading on the ideal roof space, consider removing the source. Trees can be easily dealt with, but mountains less so!
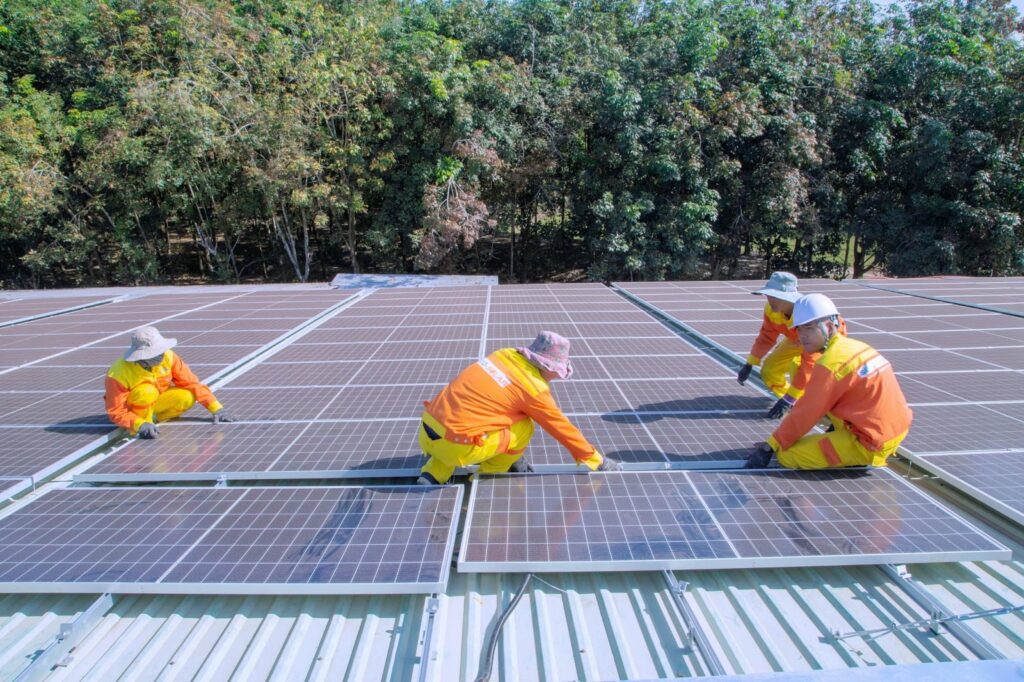
Key Components of Solar Roof Mounting
Now, let’s get into the nitty-gritty of how you can actually attach solar panels to the roof.
First, it’s important to understand what makes up a mounting system. It consists of three key components.
When it comes to the different brands of mounting equipment, IronRidge, Quick Mount, and Unirac are the top names to consider. 8760 Solar uses IronRidge for all its roof-mounted solar installations.
Roof Mount
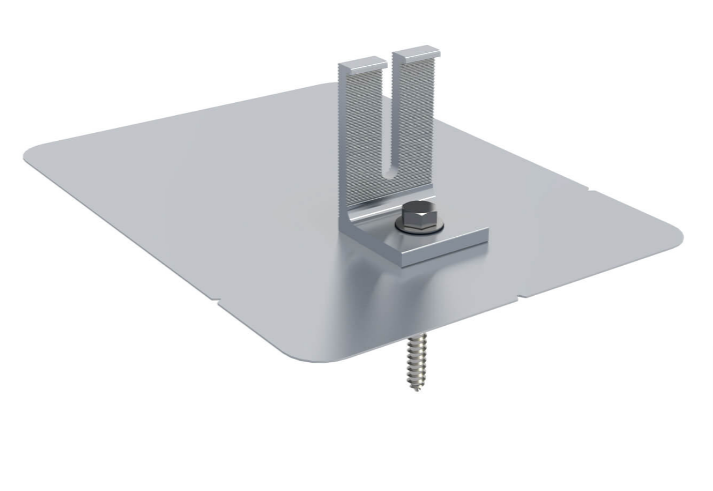
The roof mount is the first component that must be installed and it’s the part that keeps the solar panels fixed to the roof in a sturdy manner.
These come in many different shapes and forms, and you must pick the one that is compatible with your roof type and mounting equipment.
For example, some roof mounts come with a four-hole base or an L-foot base. These are designed to be fixed directly to the roof using bolts. They will also include what’s known as “flashing” – a waterproof membrane to seal the roof’s surface and prevent water from getting in. Other types will feature a clamp designed to fix onto roofs with standing seams.
The top part of the roof mount is where you attach the mounting rails or module clamps for the solar panels.
The length between the base and top of the roof mount also varies to accommodate the different roof types (called the “standoff”). A flat-surfaced shingle roof can take a short standoff, while the clay-tiled roof will need a longer standoff.
This is to ensure that there is enough space between the surface of the roof and the solar panels so that air can circulate and the electrical components can be installed.
Mounting Rails
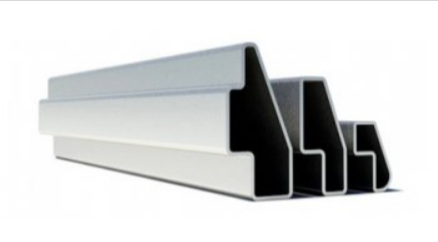
In a railed system, mounting rails are attached to the roof mounts. These consist of thin aluminum bars that essentially provide a sturdy frame for the solar panels to sit on.
The mounting rails attach to the roof mounts via a clamp and are fixed into place using a nut and bolt.
Module Clamps
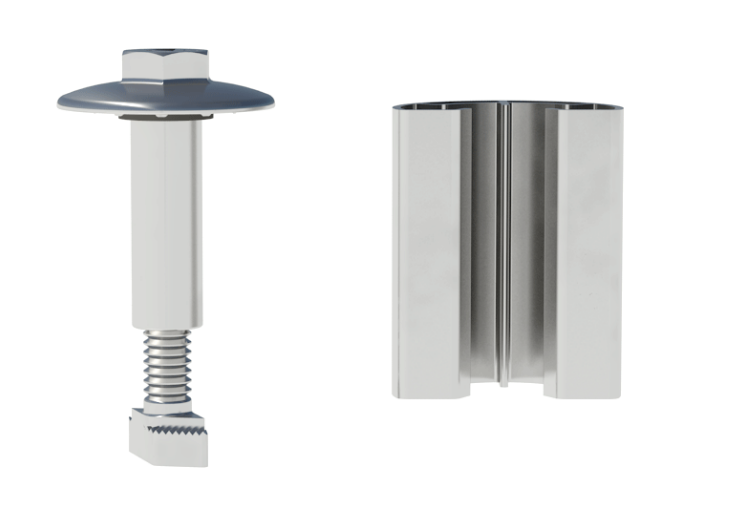
Finally, the module clamps are attached to the rails and allow the solar panels to be fixed into place.
In some setups, a rail-less system may be used, in which case, there are no mounting rails and the clamps are fixed directly to the roof mounts.
There are two types of clamps used in a typical setup:
- End clamps: These attach to the ends of the rows of panels and are fixed to just one solar panel.
- Middle clamps: These are attached between two solar panels. They have the dual role of acting as a spacer while keeping two solar panels firmly in place.
Typically, a solar panel will need at least four clamps to properly secure it.
The Different Types of Solar Roof Mounts
Railed Mounts

A railed mount consists of aluminum metal rails that are fixed to the roof using clamps or bolts and screws.
If clamps are used, the roof is not penetrated in any way, however, this system can only be used if the roof features raised areas (such as standing seams). In contrast, a bolted system will require penetration since it needs to be fasted to the roof’s structure and is necessary if the roof has nowhere for clamps to fasten onto.
The rails are positioned so that the top and bottom of each solar panel can be fixed to them either in a portrait or vertical position.
Numerous types of railed mounts are available, including:
- Fixed tilt: The panels are secured in a tilted position and don’t move once they have been attached.
- Adjustable tilt: For added flexibility, the tilt of the panels can be manually adjusted to suit conditions.
- Multi-axis: A lot more complicated and expensive to install, this setup features a mechanized system that automatically tilts and moves the panels to better face the sun.
Shared Rail Mounts
Shared rail mounts work the same way as railed mounts but are more streamlined and use less equipment.
Rather than having two rails for each row of solar panels, the bottom of one row will share a rail with the top of the next row.
A big advantage of this setup (besides the need for less equipment) is that it weighs less than a traditional railed system.
Rail-Less Mounts
Fixing solar panels directly to the roof without the use of rails is perfectly possible but it requires a lot of precision and is more expensive than railed systems.
Special brackets are fastened to the roof using clamps or bolts and screws and the solar panels are attached to the brackets. In doing this, the roof becomes the support for the solar panels.
The end result looks much cleaner and aesthetically pleasing than a railed system, but there are drawbacks to keep in mind.
Because of the lack of space between the panels and the roof, the wiring cannot be installed behind them. Instead, it must run through the roof and into the property. This makes the installation process more complicated and obviously requires some penetration of the roof’s surface.
Moreover, it’s necessary to ensure the wiring is accessible from the inside in order to properly maintain it. Therefore, this system is not suitable for roofs that have no accessibility inside.
Ballasted Mounts
This type of mount is used for flat roofs only and is relatively easy and fast to install.
Rather than using rails and roof mounts, the racking system is fixed into place using concrete blocks known as “ballasts.” These are heavy and contain a foot or tray that the panel mounts are fixed onto where they rest in an optimally tilted position.
Ballasted mounts can consist of fixed-tilt racking or use movable tracking systems where the panels are automatically moved to face the sun throughout the day.
You may also see a “dual-tilt” setup used. This consists of rows of panels placed up against each other. Each row is tilted 90° in alternating positions so you get a zig-zag effect.
Because ballasts are used, there is no need to penetrate the roof – something that is crucial due to its flat nature. Care must be taken not to obstruct or compromise the roof’s special drainage system.
Best Solar Mounting Option by Roof Type
Metal Roofs
Attaching solar panels to metal roofs is a wise decision because it’s easier and cheaper to install compared with other roof types.
Solar panels are quickly fixed onto metal roofs, but the type of mount used depends on the type of roof:
Standing Seam Roof
If your roof has standing seams (raised areas where two pieces of metal join up), then you are in luck! This is one of the easiest roofs to mount solar panels to.
Making use of the seams, the solar panels are fixed using high-strength aluminum clamps with a single bolt to fasten the clamp and properly secure it. In this setup, no drilling is required and it is not necessary to penetrate the roof in any way.
Corrugated and Trapezoidal Roof
Corrugated metal is a little trickier to deal with and requires a mini rail system consisting of specialized brackets that are affixed to the raised parts of the corrugations.
The rails are secured in place with self-tapping screws, and since this type of mount does penetrate the roof, the clamps come with rubber seals and sealant to ensure that it remains waterproof.
The “valleys” of the corrugated roof are left intact, which allows proper drainage, but the panels are secured close enough to the roof to prevent critters from making their nests underneath.
Where trapezoidal roofs are concerned, the racking system is much the same as for a corrugated roof. The only difference is that adjustments must be made for the larger “valleys” between the raised parts.
Make sure your solar developer has selected appropriate racking for your trapezoidal roof so its integrity is not compromised.
Tile Roofs
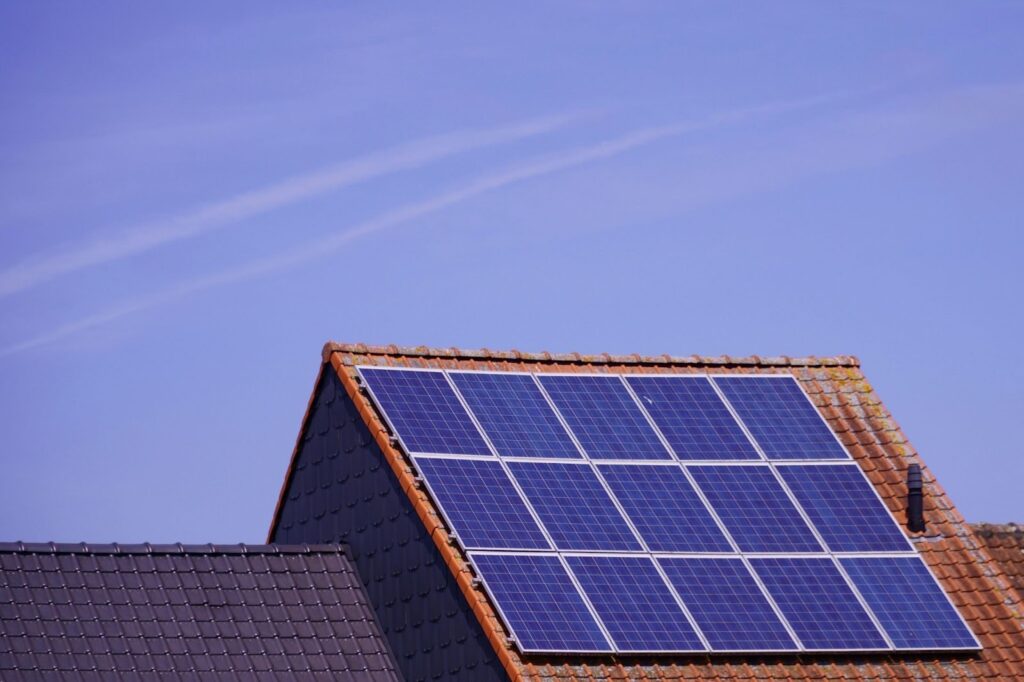
This is the most challenging roof type to mount solar to. And because it’s more difficult, it’s generally more expensive, too. The issue lies in mounting the solar panels without damaging the fragile clay tiles.
In most cases, a clay tile roof will require a railed mounting system.
Some solar installers will try to take a shortcut by doing something called “comp-out.” This is where the clay tiles are removed in the spots where the mounts will go, and shingles are installed in their place.
Doing this makes it a lot easier to install the racking system, but a comp-out comes with its own set of problems. Often, there will be a tiny gap between the shingles and the clay tiles, which makes it very easy for water to penetrate the roof and cause damage to the property.
The better – and preferred – way of attaching solar to roof tiles is to use the “double-flashing” method. This is where two layers of flashing are used to create an extra watertight finish.
The first layer of flashing is typically installed under the roof mount, and the second layer is placed over them, making it almost impossible for water to penetrate.
A newer innovation that is less widely available is the “tile replacement mount.” Rather than having to cut or remove existing tiles and replace them with shingles, the tile replacement mount simply replaces the tile, giving a seamless, watertight finish.
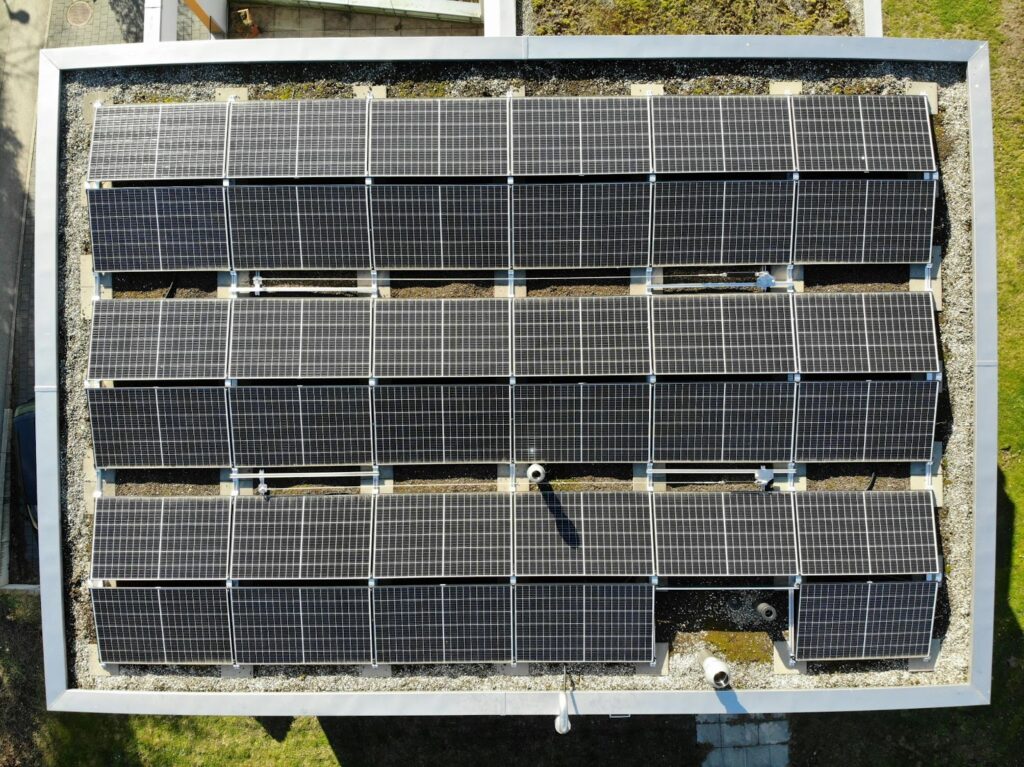
Flat Roofs
A flat roof requires a ballasted racking system that is held down with weights to keep the solar panels in place. No drilling or penetration is required for this setup, so the roof’s integrity remains intact.
A special consideration for this type of installation is the additional weight from the concrete ballasts. It is also crucial to ensure the roof’s drainage system is not compromised.
Shingle Roofs
Like metal roofs, shingle roofs are very easy to fix solar panels onto and benefit from the choice of railed, rail-less, and shared rail mounting systems.
The smooth surface of shingles provides a clean area for the solar panels to go, and shingles can be easily cut, making it much simpler to deal with than clay tiles.
The drawback is that affixing solar panels to shingles requires some kind of roof penetration in order to install the roof mounts, but with the use of flashing, it’s unlikely that the roof will spring a leak.
What About Solar Shingles and Canopies?
Solar continues to innovate and we are starting to see some exciting ways in which solar panels are incorporated into buildings and structures.
Solar shingles are fast becoming popular, and numerous companies, including Tesla, manufacture them.
They essentially act as the roof tile itself and completely replace shingles or clay tiles. This allows the entire roof to capture sunlight and convert it into energy and has the added benefit of looking great, too.
The downside is that they are not as efficient as traditional solar panels. However, the drop in efficiency can generally be offset because you have more surface area dedicated to harvesting energy.
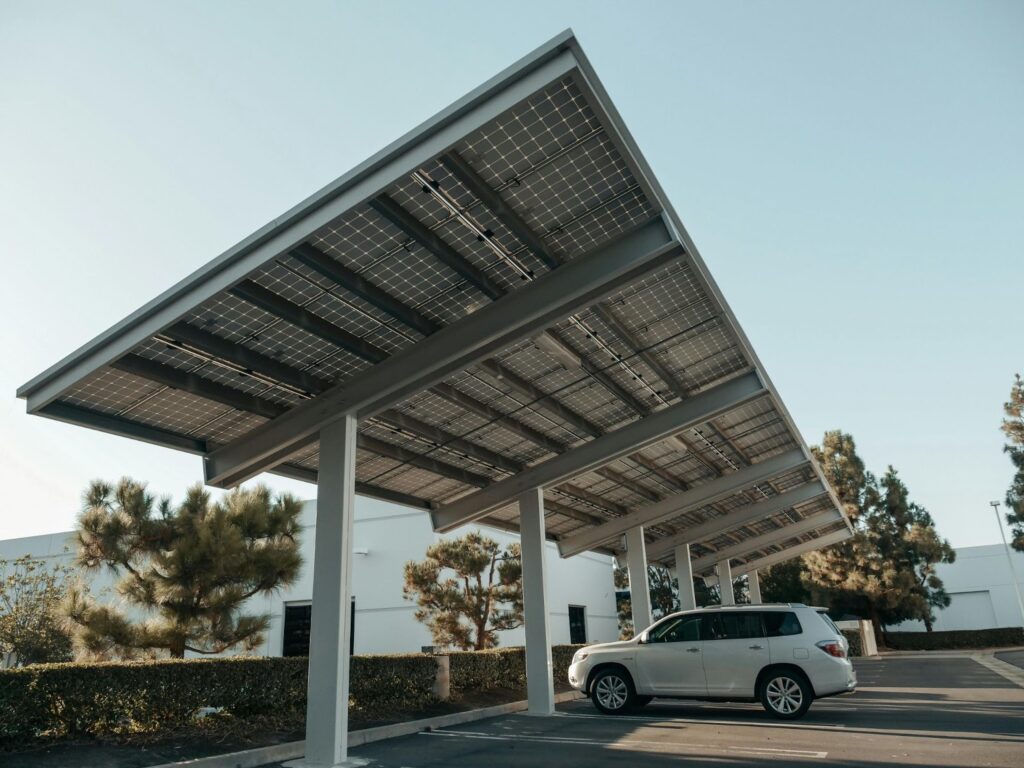
Solar canopies are also emerging as a popular choice, particularly for electric vehicle charging points. Over in Europe, they are also frequently used in supermarket parking lots. The canopy prevents vehicles from getting too hot and protects people when the weather is bad, all while generating electricity.
Solar canopies can be a good choice for farms and agricultural businesses, particularly when the use of electric farm vehicles starts to become the norm.
Get in Touch for More
If you own a farm or agricultural business in Colorado, please get in touch to learn more about how solar energy can benefit you.
At 8760 Solar, we’ve become the trusted experts in providing high-quality solar solutions and freeing farmers from excessive energy bills.
Most of our clients prefer ground-mounted solar panels as they are easier to install and maintain, but we do install roof-mounted panels too. For example, if you have a lodge, ranch, or other accommodation that requires solar energy, then a roof-mounted system is usually the best solution.
We’d love to talk to you and understand more about your business and which types of solar installation would best fit your needs.
To arrange your farm’s FREE analysis and quote, text “READY” to 719 470-0254 or get in touch via email: sales@8760solar.com.
Frequently Asked Questions
What Are the Three Types of Solar Panel Mounts?
The three main types of solar panel mounts are railed, rail-less, and ballasted. Railed mounts are good for most pitched roof types, rail-less are best for roofs with a smooth surface (like shingles), and ballasted mounts are used for flat roofs.
How Many Roof Mounts per Solar Panel?
Roof-mounted solar panels typically require four mounting brackets per panel. This provides the optimum amount of stability and ensures they remain securely fastened in place.
What Is the Spacing for Solar Rail Mounts?
The spacing for solar roof mounts depends on the weight of the panels and the type of mounting rails used. You should refer to and follow the manufacturer’s guidelines to ensure proper spacing, however, a rule of thumb is four feet between mounts.
How Do I Know If My Roof Can Hold Solar Panels?
The best way to understand if your roof can hold solar panels is to schedule a roof inspection by a professional. They will inspect the structural integrity of your roof and determine if it can withstand the weight of a solar installation.
Should Solar Panels Be Flush With Roof?
For pitched roofs, solar panels are generally best placed flush to the roof, and tilting them is not usually necessary. For flat or slightly sloped roofs, it is more beneficial to mount the solar panels in a tilted fashion.